d-tags


Adding a product feed to GMC
We’ve covered the product feed specifications and how to create one in our dedicated article: Google Merchant Center Product Feed Specifications. Before uploading your product file, make sure that your GMC account has Shopping ads enabled.
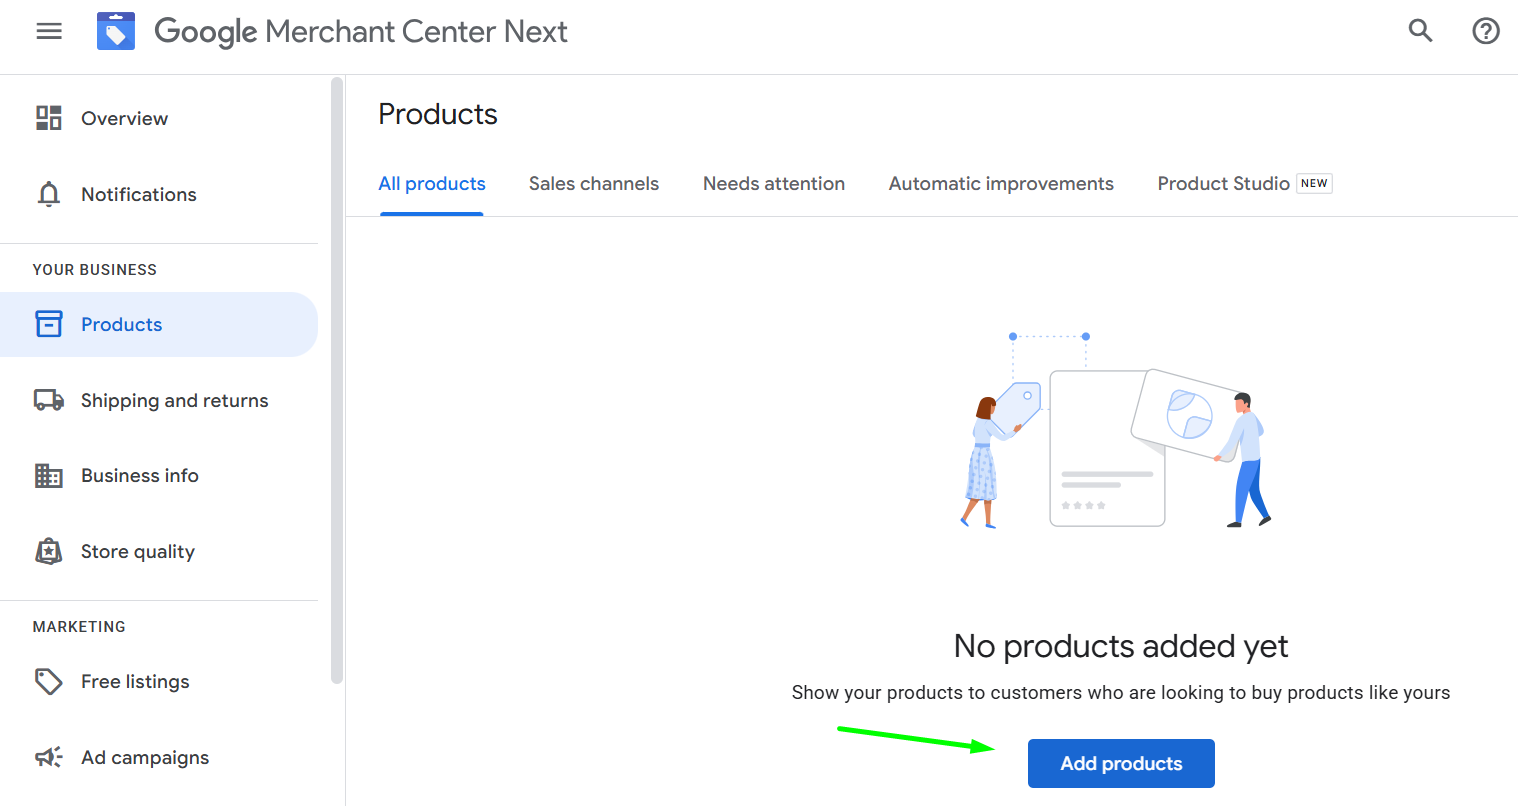
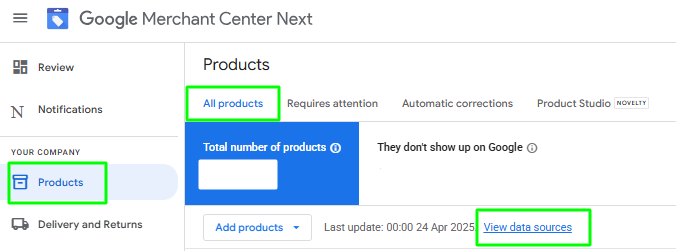
To add a product feed in GMC, navigate to the left-hand menu in your dashboard and select: Products > All Products > Add Products.
Next, choose your preferred upload method:
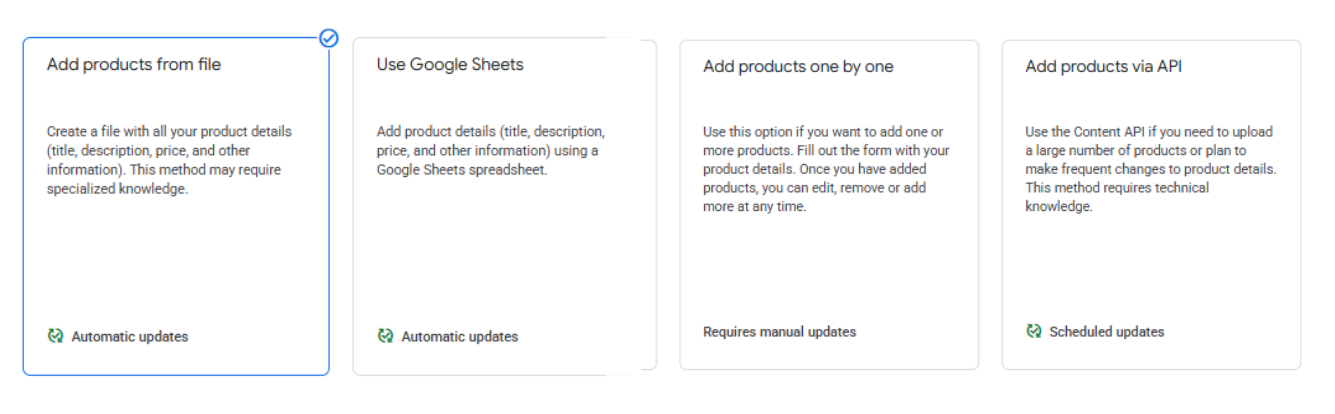
There are four available methods:
- Add products from a file: The product feed is pulled directly from your website (the file is in XML or TXT format and updates automatically at scheduled intervals).
- Use Google Sheets: Product data must be updated manually in a linked Google Sheet. This method is recommended if you have a small product catalog. Keep in mind that updates, such as price or stock changes, won’t happen automatically – you’ll need to manually update the sheet.
- Add products one by one: You manually enter product data into Google Merchant Center, one product at a time.
- Add products using API: This is an API that allows apps to interact directly with GMC for automated feed management.
The method most commonly recommended by our SEM specialists is the Upload a file option.
As shown in the screenshot below, you’ll need to add the link to your XML file and set the fetch frequency. We recommend scheduling daily fetches – preferably at night when traffic on your website is lower.
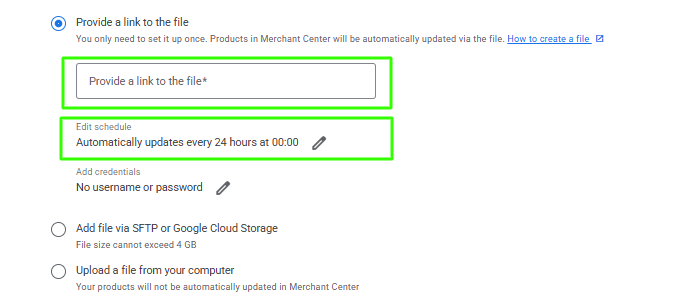
Also, double-check that the correct time zone is set.
You’ll need to set the target country, language, and select your marketing channels (both Shopping ads and Free listings – products can appear in tabs like Google Shopping or Google Images without incurring click costs).

Important!
When you upload your product file for the first time, it might not fetch automatically. If that happens, simply click the “Update” button a few times.

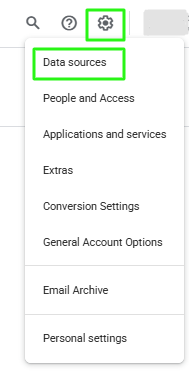
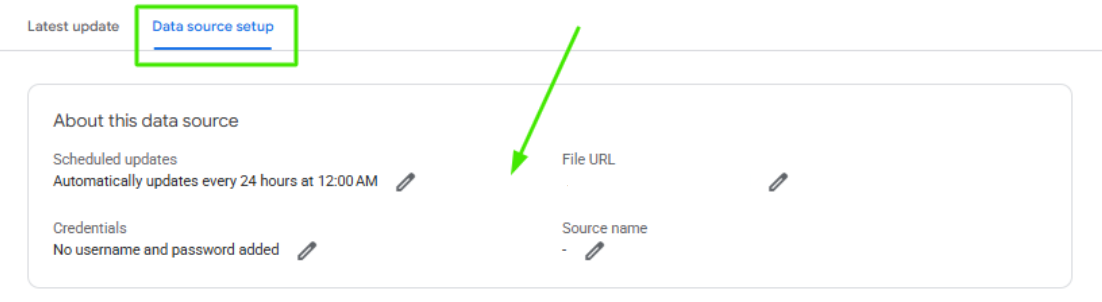
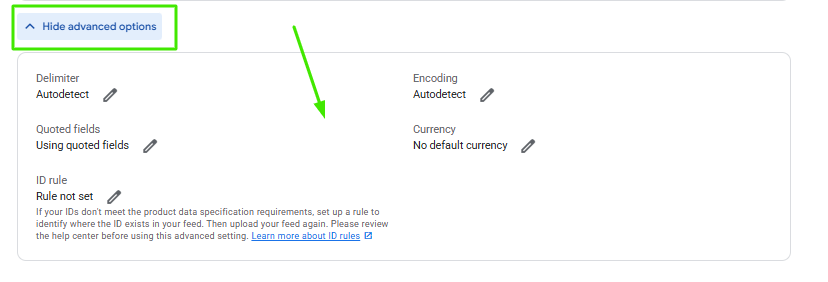
At this stage, it’s also a good idea to review and verify critical settings, such as fetch frequency, update time, time zone, and default currency settings. To do this, navigate to: Settings > Data Sources > Select Your Product Feed > Data source setup.
You can check if your product feed was successfully processed under the “Products” section. Here, you’ll see how many products were approved and how many were disapproved, along with reasons for disapproval.
You can either fix any issues directly in your XML feed or resubmit your feed for review from the GMC panel.
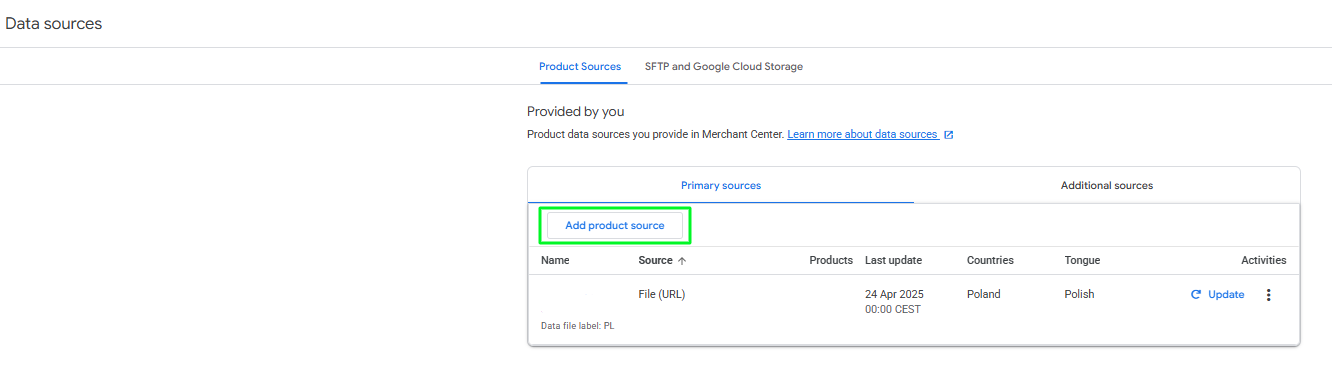
How to upload an additional product feed to Google Merchant Center
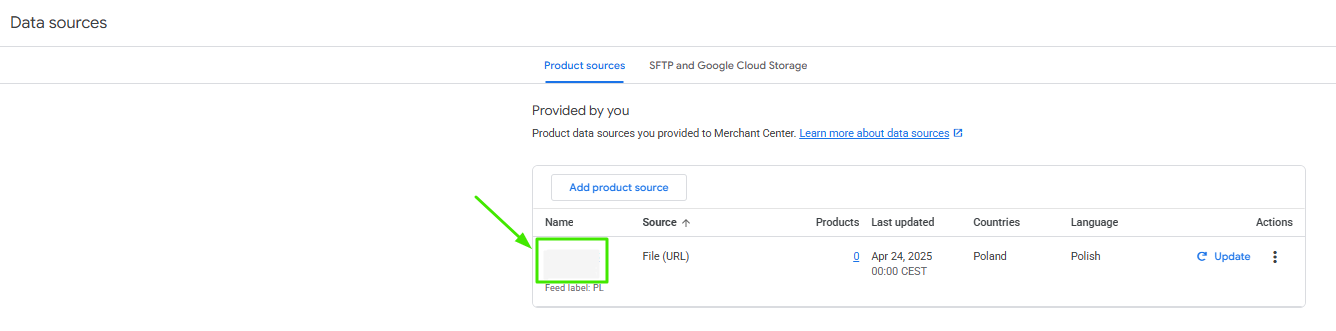
If you want to upload an additional feed – let’s say to promote bestsellers as a separate product group – you can easily do so. Simply go to: Products > All Products > View Data Sources > Add Product Source, and then follow the same steps as you would when uploading the main product feed.
Pro Tip!
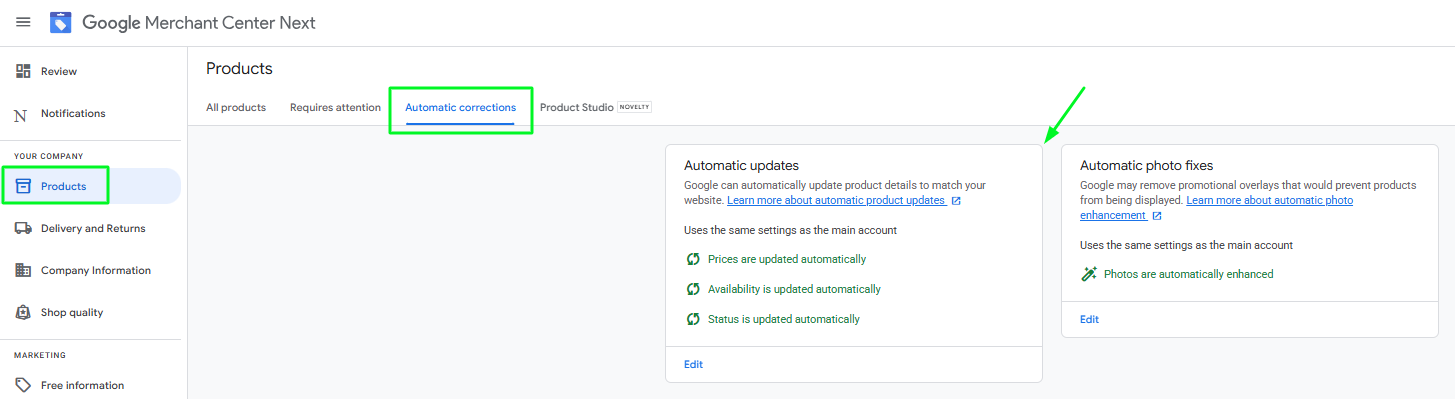
To streamline the update process after uploading your feed, we recommend enabling Automatic Item Updates.
You’ll find this feature under Products, by clicking Automatic Improvements, and then Edit.
Uploading a product feed to Google Merchant Center – Summary
In this brief guide, we’ve outlined the key steps for uploading a product feed to Google Merchant Center.
As you can see, the process is fairly straightforward.
However, keep in mind that uploading your feed is only half the battle – properly configuring your GMC account settings is equally important.
For that, be sure to refer back to the separate article we mentioned earlier.